
Last updated September 10, 2026
Full 25-point door and opener safety check with every visit - springs, cables, rollers, tracks, and your LiftMaster or Chamberlain opener included
You get a price before we start. It does not change when the truck arrives.
 Before
 After
After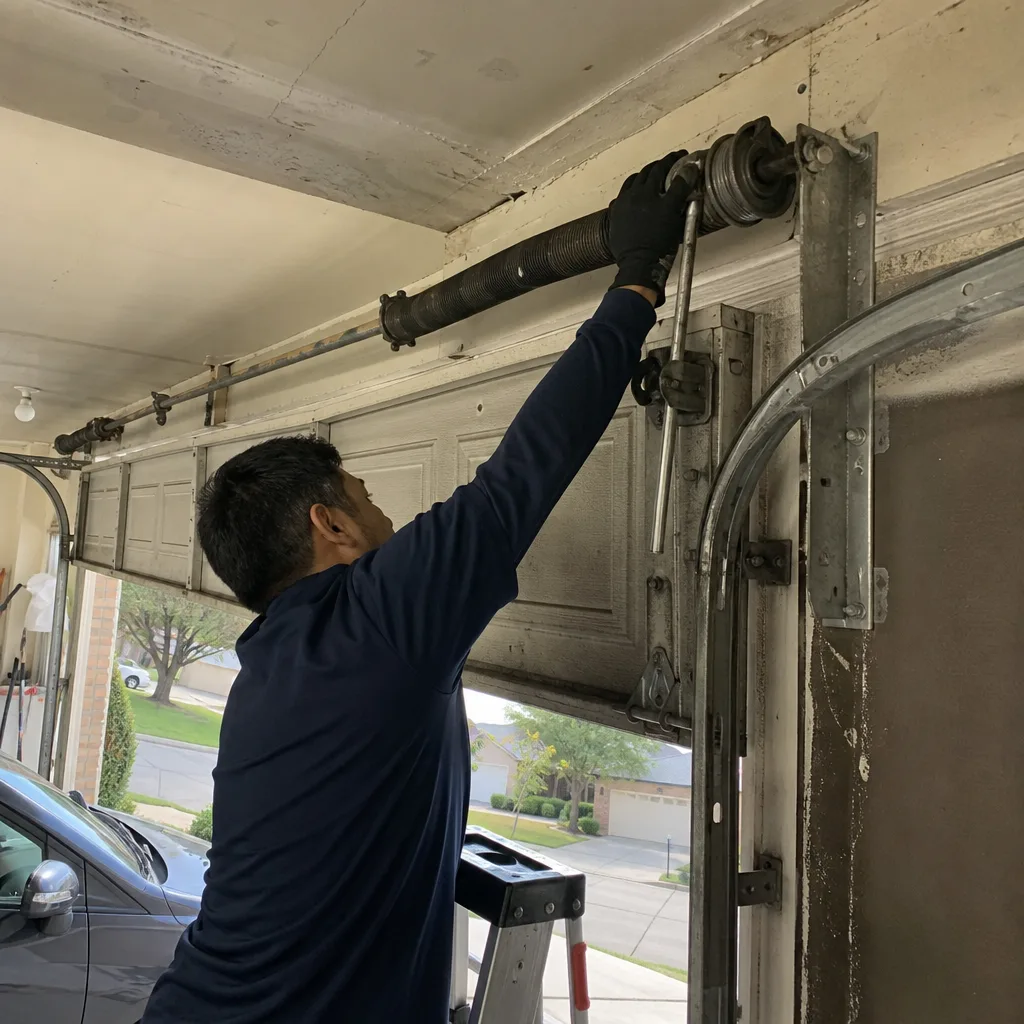 Before
 After
After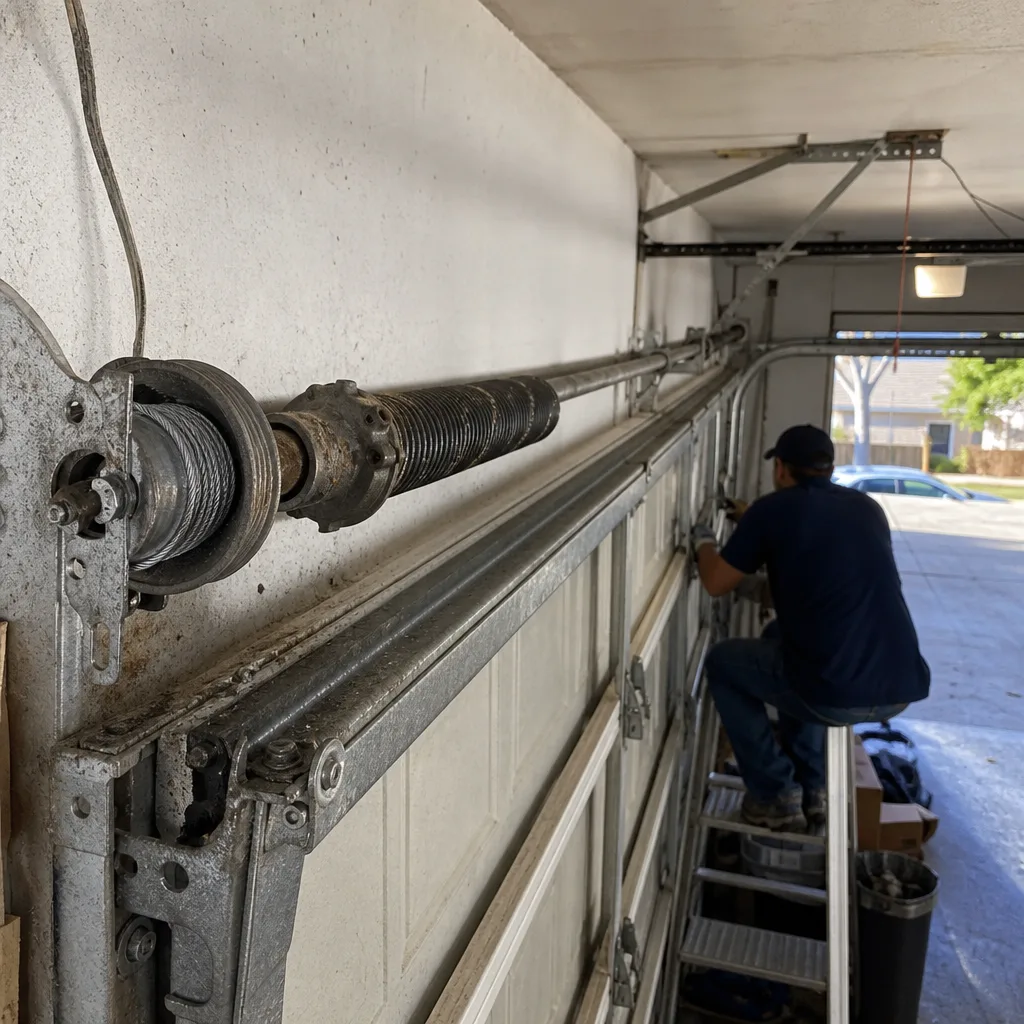 Before
 After
AfterGarage Door Repair Maintenance Checklist for Lewisville Homeowners
Last March, Otto Reinhardt replaced three sets of torsion springs in one Lewisville subdivision in a single week. Same age of homes, same builder hardware, same deferred maintenance. None of those homeowners knew their springs were one cycle away from snapping. A garage door is 200 pounds riding on two springs, and when one lets go, it doesn’t warn you with a dashboard light. This checklist is built around the specific failure patterns we see on Lewisville doors after five, ten, and fifteen years, not the parts that look good in a diagram. You’ll need about 15 minutes, a flashlight, and a willingness to look at things most people ignore until the door won’t open.
Quick Answer
A proper garage door maintenance checklist for Lewisville homeowners covers six things: visual inspection of torsion springs and cables, a two-minute door balance test, lubrication of rollers and hinges with the right products, tightening of all hardware, a safety reverse test on the opener, and a seasonal check of weatherstripping and seals. Most problems we find could have been caught months earlier with these basic checks, and none of them require special tools or mechanical skill.
Table of Contents
- How to Check Your Torsion Springs Without Touching Them
- The Two-Minute Balance Test That Tells You More Than a Visual Check
- Why Lewisville Temperature Swings Destroy Cables Faster Than You’d Think
- What to Lubricate, What to Skip, and the One Spray That Ruins Nylon Rollers
- Hardware Tightening: The Five-Minute Pass That Prevents Most Noises
- Testing Your Opener’s Safety Reverse: Two Tests, One Minute Each
- The Lewisville Seasonal Cadence: Spring Checks vs. Fall Checks
- Common Mistakes to Avoid
- When to Call a Professional
- Frequently Asked Questions
- The Bottom Line
How to Check Your Torsion Springs Without Touching Them
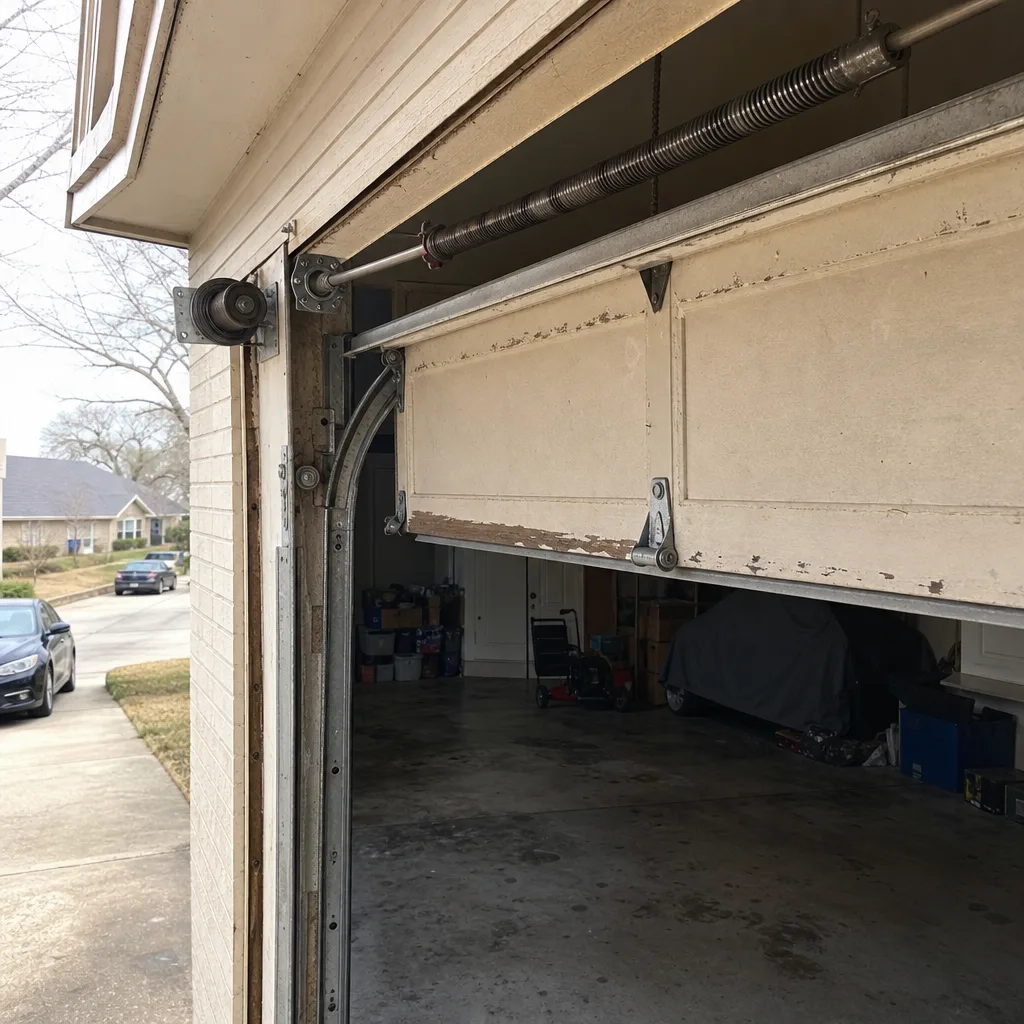
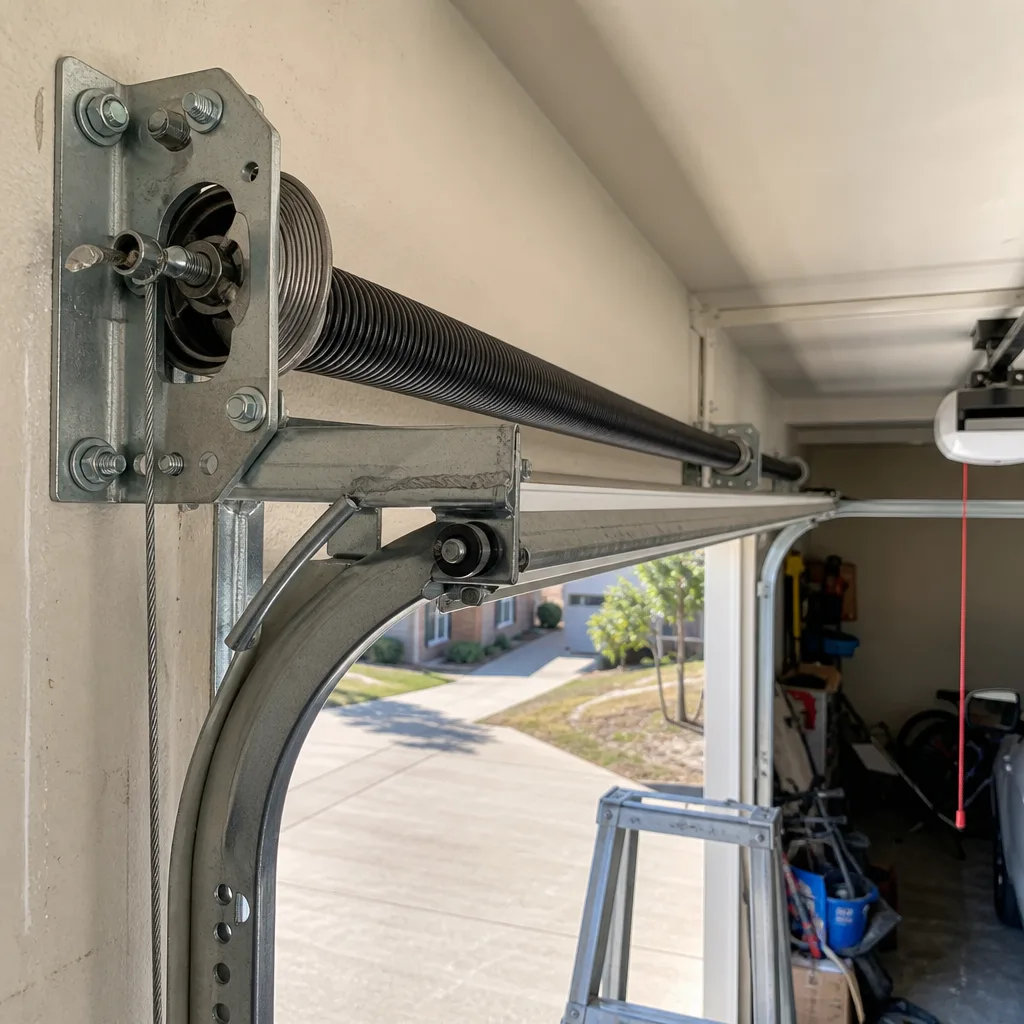
Here’s the thing about torsion springs that most online checklists get wrong: you don’t inspect them by touching them. You inspect them by looking at the gap. When a torsion spring is healthy, its coils sit tight against each other with no visible space between them, like a tightly wound sleeping bag. As a spring approaches failure, those coils start to separate. You’ll see a visible gap, sometimes the thickness of a nickel, sometimes the width of your finger. That gap is the spring telling you it has stretched past its rated cycle life.
In Lewisville, where homes built between 1998 and 2010 are now hitting their fifteenth or twentieth year, those builder-grade springs have already cycled more times than the manufacturer ever intended. A standard torsion spring is rated for 10,000 cycles. Two cycles a day gets you about thirteen and a half years. We’ve never seen a builder spring make it past twelve. I count spring cycles the way you count tire miles – I will tell you what’s left on yours.
Here’s what to look for with a flashlight, standing on a step ladder, looking up at the spring mounted above the door opening:
- Coil separation: Any visible gap between coils means the spring has begun to stretch. This is the earliest and most reliable warning sign.
- Rust blooms on the spring surface: Surface rust is cosmetic. Rust that appears as raised, flaking patches means the metal has begun to fatigue. A fatigued spring snaps without warning.
- A door that looks uneven in the opening: Stand back ten feet and look at the horizontal line of the top of the door. If one side sits even a half inch higher, one spring is carrying more weight than the other.
- Fresh metal showing where the spring meets the shaft: This means the spring has rotated on the shaft, a condition that accelerates internal wear.
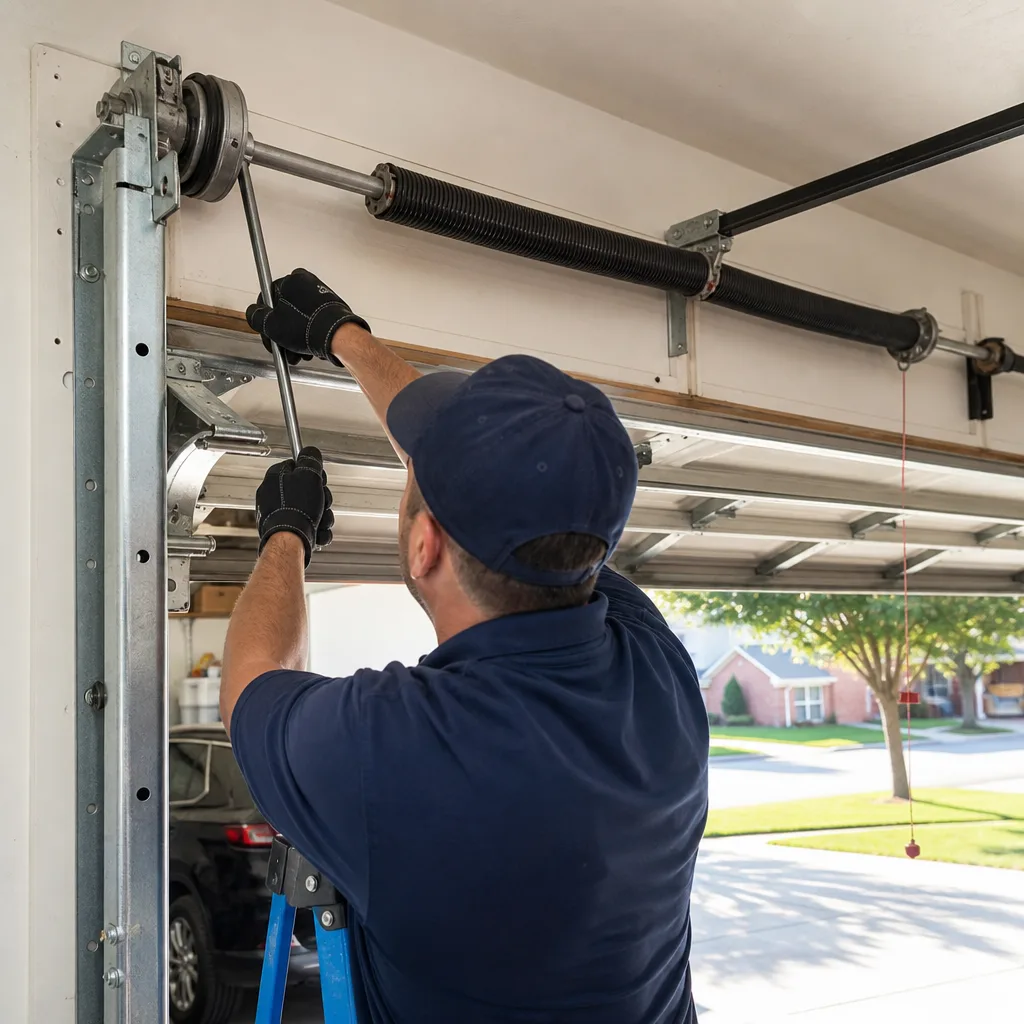
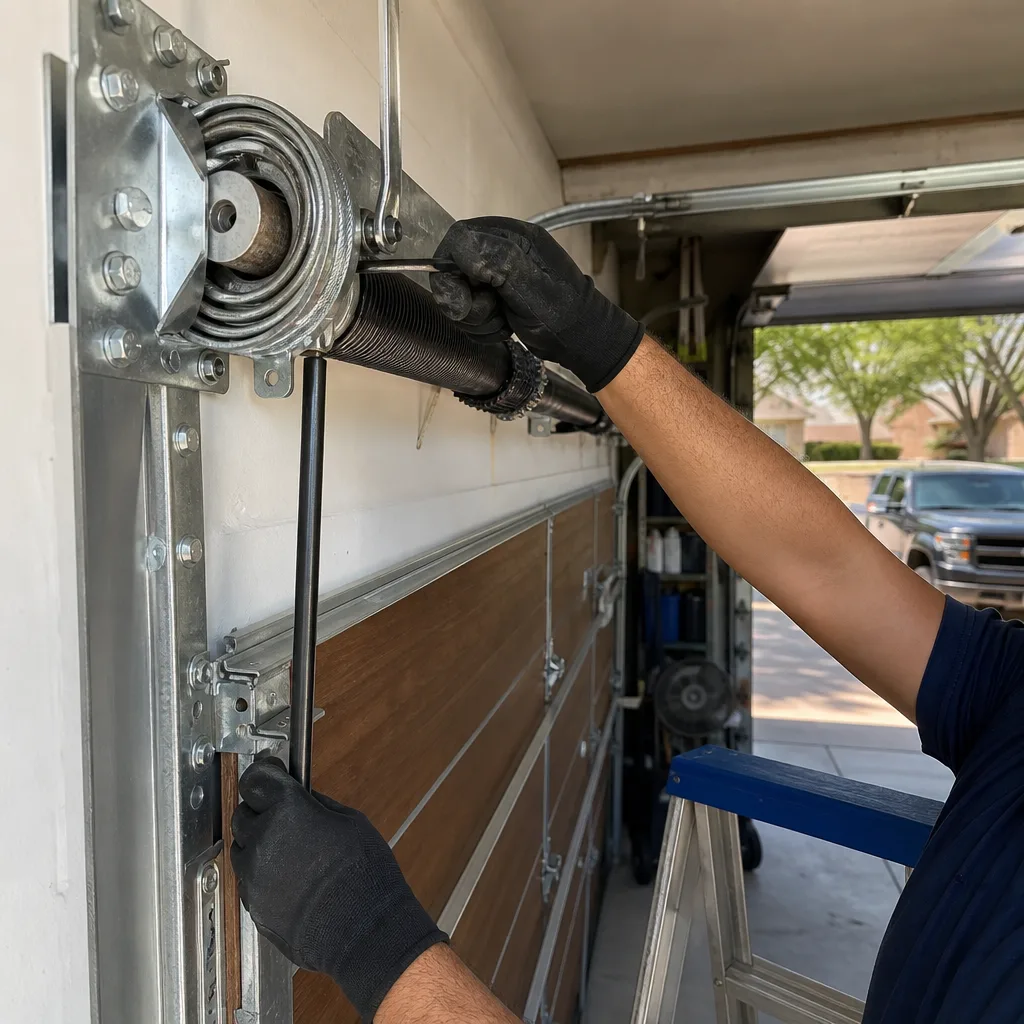
A quick point about safety: torsion springs hold an enormous amount of stored energy. Do not attempt to adjust, replace, or even remove a spring yourself. The inspection we’ve described involves looking, not touching. If you see any of the warning signs above, call a professional. A door is 200 pounds riding on two springs. Respect it.
The Two-Minute Balance Test That Tells You More Than a Visual Check
The most useful diagnostic you can perform on your garage door takes two minutes and requires zero tools. It’s called a balance test, and it tells you whether your springs are doing their job or whether your opener is silently carrying the load. If the opener is straining, the problem is almost never the opener.
Here’s the step-by-step:
- Pull the red emergency release handle hanging from the opener rail. This disconnects the door from the opener carriage. The door should now move freely by hand.
- Lift the door by hand until it’s halfway up, around waist height.
- Let go. A properly balanced door will stay in place, maybe drift an inch or two at most.
- If the door slams to the floor, your springs have lost tension. The opener has been dragging 200 pounds of dead weight every time you leave for work.
- If the door shoots up on its own, the springs are over-tightened, which puts unnecessary stress on every moving part.
- Repeat the test with the door at three-quarter height. Any movement of more than a few inches in either direction confirms a spring issue.
We recommend Lewisville homeowners run this test twice a year, once in April and once in October. It takes longer to find the release handle than it does to run the test. If the door fails either position, the springs are no longer matched to the weight of the door, and no amount of opener adjustment will fix the real problem. The fix is a spring replacement done by someone who can match the right spring to the right door, not a guess from a parts catalog.
Why Lewisville Temperature Swings Destroy Cables Faster Than You’d Think
Cables are the most overlooked part of any garage door system, and in Lewisville they fail faster than in most parts of the country. The reason comes down to temperature cycles. From January lows in the twenties to August highs above 100, the steel cables on your door expand and contract every single day. Over ten or fifteen years, that constant flexing causes microscopic fatigue at the points where the cable bends around the bottom roller bracket. Add in the humidity swings of a Texas spring, and you get corrosion at exactly the spot where the cable carries maximum load.
Where to look, specifically:
- The bottom corners of the door: Remove the slack by lifting the door a few inches. Look at the last six inches of cable where it attaches to the bottom bracket. This is where 90 percent of failures happen.
- The loop where the cable seats into the drum: Up top, where the cable winds onto the drum, look for birds-nesting, uneven wraps, or any cable that’s jumped out of its groove.
- Fraying anywhere along the run: A single broken strand is a calendar marker, not a maybe. A cable with broken strands will fail. The only question is when, and the answer is usually at the worst possible moment.
- Rust staining on the cable surface: Surface rust accelerates internal corrosion. Replace cables at the first sign of deep rust, not after they’ve failed.
One more Lewisville-specific note: if you live in an older neighborhood with mature trees, check for leaf debris accumulating in the bottom track corners. Wet leaves sitting against cables for months create a localized corrosion pocket that eats through steel faster than open air ever will. It’s a small thing, but we’ve replaced cables in neighborhoods like The Hills and Castle Hills where leaf pack was the direct cause of a cable snap.
Again, cables are under tension. Do not attempt to remove or replace a cable yourself. The inspection is visual, and the fix belongs to a trained hand.
What to Lubricate, What to Skip, and the One Spray That Ruins Nylon Rollers
Lubrication advice from the internet is a mess. Half the forums recommend a product that actively destroys your rollers. We’ll fix that here with specifics.
The one spray to never use on a garage door: WD-40. It’s a solvent and a water displacer, not a lubricant. On nylon rollers, WD-40 penetrates the nylon and breaks down its internal lubricants, which means the roller bearings run dry and the nylon surface degrades. On metal parts, it strips away whatever lubricant was there and leaves a thin film that evaporates within weeks. If you’ve been spraying WD-40 on your door twice a year, you’ve been making it worse every time. Stop.
What to use instead:
- White lithium grease on the torsion spring surface, the hinges, and the spring support plates. It sticks, it stays put, and it doesn’t attract the same amount of dust and grit that heavier greases do.
- Silicone spray lubricant on the rollers themselves, the roller stems, and the track curves. Silicone doesn’t break down nylon, doesn’t get gummy, and handles the Lewisville heat without thinning out.
- Good old 3-in-1 oil or motor oil applied sparingly to the roller shafts only if the rollers are metal. If your rollers are nylon, stick to silicone.
The lubrication pass, once every six months:
- Wipe each roller with a clean rag to remove accumulated grit. Grat in the roller bearing is the leading cause of roller seizure.
- Spray a light coat of silicone onto each roller wheel. Don’t soak the track. Lubricant in the track collects dust and turns into a sludge that actually slows the door down.
- Apply white lithium grease to the top of each hinge leaf, about the size of a pencil eraser, right at the pivot point.
- Wipe the torsion spring with a rag, then apply a light coat of grease along the length of both springs if there are two.
- Run the door through two full cycles to work the lubricant in.
If your rollers are the original plastic rollers from a 2005-era build, the best six-month maintenance upgrade you can make in Lewisville is replacing them with sealed-bearing nylon rollers. They run quieter, they last three times as long, and they make the whole door feel like it’s half its actual weight.
Hardware Tightening: The Five-Minute Pass That Prevents Most Noises
A garage door opens and closes roughly a thousand times a year. Each of those cycles sends vibration through every bolt, nut, and lag screw on the assembly. Over time, things loosen up. A loose hinge plate is the number one cause of squeaks, rattles, and that metal-on-metal grind that makes you wonder if the door’s about to fall off the tracks.
Here’s the five-minute hardware pass:
- With the door closed, check every hinge bolt. Doors have between two and four hinges per panel. Each hinge has four bolts. We’re not exaggerating when we say a third of the noise complaints we get in Lewisville are fixed by tightening hinge bolts.
- Check the bolts holding the track brackets to the wall. These carry the full weight of the door when it’s in the open position. Loose brackets let the track drift, which changes the geometry of the whole system.
- Check the lag screws on the torsion spring mounting pads. If these loosen, the whole spring assembly shifts, and the door starts to bind in the tracks.
- Check the bolts on the opener rail couplers and the motor mount. A vibrating opener motor amplifies every loose fitting in the system.
Use a socket wrench, not an impact driver. Impact drivers can over-torque bolts that are meant to be snug, not crushed. And while you’re in there, look for any bolt that’s been replaced with one that doesn’t match. We see this in Lewisville rental properties and flips where someone did a quick fix with hardware-store miscellaneous bolts. Mix-matched hardware on a 200-pound door is a structural weakness waiting to show itself.
If you find a bolt that’s stripped or spinning in its hole, don’t force it. Mark the spot with a piece of tape and mention it to whoever services your door next. Loose hardware is an easy fix on the same visit as spring or cable work.
Testing Your Opener’s Safety Reverse: Two Tests, One Minute Each
The safety reverse mechanisms on your garage door opener are the only thing standing between your door and anything underneath it. Both tests take about a minute, and both should be run every single month. Not every six months. Not once a year. Every month.
Test 1: The Photo Eye Test
With the door open, press the wall button to close the door. As it’s descending, wave your foot through the invisible beam between the two photo eye sensors mounted near the floor on each side of the door opening. The door should stop and reverse immediately. If it doesn’t, the sensors are either misaligned, dirty, or failing. Wipe the lenses with a dry cloth and realign them so the indicator lights are steady, then test again. If the door still doesn’t reverse, stop using the opener and call someone.
Test 2: The Physical Resistance Test
Close the door on a 2×4 laid flat in the center of the opening. When the door contacts the wood, it should stop and reverse within two seconds. If it keeps pressing down or takes more than two seconds to reverse, the force settings are wrong. This is especially common after someone has installed a new opener or replaced springs without recalibrating the force. A door that keeps pushing down against an obstruction is a door that will close on a child, a pet, or a car bumper.
We can’t tell you how many Lewisville homes we visit where the photo eyes have been permanently defeated by someone who got annoyed with them tripping. Some people point them at each other without aligning, some tape them together, some cut the wires entirely. Understand the decision you’re making there: you’re disabling the only safety device that protects anyone who might be under the door. Put the sensors back the way they were and test them monthly.
If you need help with any of this, our Garage Door Opener in Lewisville page covers opener repair, recalibration, and safety testing in depth.
The Lewisville Seasonal Cadence: Spring Checks vs. Fall Checks
Lewisville has two seasons that stress a garage door in opposite directions, and your maintenance schedule should match them.
Spring: Prepare for the Heat
- Lubricate everything in March or April, before the first 90-degree day. Grease that’s applied in August melts down the door and onto the driveway. Applied in April, it has time to set up.
- Check the weatherstripping on the bottom of the door. After a winter of cold snaps, the rubber has stiffened and may have cracked. A cracked seal lets in the Texas dust, the June heat, and the occasional scorpion looking for shade.
- Inspect the torsion spring for coil separation. Hot weather accelerates spring fatigue, and a spring that’s already stretching will fail faster come summer. If you see gaps in the coils going into warm weather, replace the spring before it replaces itself at 7:30 on a Tuesday morning.
- Check for rust on the track and hardware. Spring rain followed by summer heat is the perfect recipe for surface rust, which then migrates to the moving parts.
Fall: Prepare for the Cold Mornings
- Run the balance test again in October. Cold metal is more brittle, and a door that’s slightly out of balance will bind worse when temperatures drop into the thirties. A door that’s balanced in August can be tight in January when the metal contracts.
- Test the safety reverse before the time change, because cold mornings mean more garage door cycles with stiff materials, and more opportunities for something to go wrong.
- Re-spray the cable runs with a light silicone coat in late October. By protecting the cables before the cold-and-damp season, you extend their life through the exact conditions that kill them fastest.
- Check the weatherstripping at the bottom, sides, and top of the opening, especially if you see daylight while standing inside with the door closed. Heat loss through a bad seal is an energy bill problem. Pest entry through a bad seal is a whole different conversation.
Common Mistakes to Avoid
- Lubricating the tracks with grease. Grease in the track picks up dust and grit, which acts like sandpaper on the rollers. Lube the rollers, leave the tracks dry. If you want to clean the tracks, use a dry rag.
- Using WD-40 on nylon rollers. As covered above, WD-40 destroys nylon rollers and strips metal lubrication. It’s the most common maintenance mistake we see in Lewisville.
- Tightening the springs yourself. If the door balance test fails, the answer is not “crank the spring a couple more turns.” Adjusting torsion springs without the right tools and training can send a 200-pound assembly into your face. Call someone who does this for a living.
- Ignoring a noisy door. A door that suddenly starts making a grinding, clunking, or metallic banging sound is talking to you. That sound has a source, and the source is failing. By the time the sound becomes a complete system failure, the repair bill is three times what it would have been.
- Disconnecting the photo eye sensors. We covered this above, but it bears repeating. The sensors exist to protect people. Defeating them is not a feature.
- Making one spring replace both springs. Torsion springs have a lifespan. When one breaks, the other is usually within months of doing the same. Replacing only the broken spring means you’ll be back in six months for the second one, paying another trip charge. We replace both on every spring job, and we tell you why when we hand you the invoice.
- Waiting until the door won’t open to call. If the door is making a new noise, running slower, looking crooked, or failing the balance test, call before it fails completely. Preventative repair is always cheaper than emergency repair, and you avoid the scenario we see too often: a car stuck inside the garage at 7:00 on a work day.
When to Call a Professional
Some things on a garage door are homeowner maintenance. Some things are professional work. The line is drawn at safety and stored energy. Torsion springs, extension springs, cables, and anything attached to the spring assembly are professional territory. A spring replacement that goes wrong can send a metal cone through a car windshield or into a human body. That’s not fear-mongering. That’s the physics of a 200-pound door under tension.
Beyond spring and cable work, call a professional when the door fails the balance test and you’ve ruled out obvious causes, when the opener is straining and you’ve verified the door itself moves freely by hand, when you see structural rust on the track supports or mounting hardware, and when you’ve inherited a door from a previous owner and have no idea when it was last serviced. Otto’s Garage Door offers free estimates in Lewisville – call (945) 777-4998.
Frequently Asked Questions
Twice a year, once in March or April before the heat hits and once in October before the cold snaps arrive. Use white lithium grease on hinges and springs, silicone spray on rollers. Skip the WD-40 entirely. If you’re not sure what to use, or you’d rather not climb a ladder, call (945) 777-4998 and we’ll handle it during a regular service visit.
The earliest visual warning is a gap between the coils. A healthy spring sits tightly coiled; a failing spring shows visible separation. Other warning signs include a door that’s suddenly uneven in the opening, a loud bang from the garage (which means the spring already broke), or a door that feels twice as heavy when you lift it by hand with the opener disconnected. If you see any of these, stop using the door and call a professional.
In Lewisville, replacing one or both torsion springs typically runs between $180 and $340 depending on the size and cycle rating of the springs, and whether you’re replacing one side or both. We recommend replacing both springs at once, because if one has failed, the other is usually close behind. For an exact quote on your door, call (945) 777-4998. Estimates are free, and the price is quoted and agreed before any work starts.
No. Torsion springs are under thousands of pounds of tension, and the tools required to wind and unwind them are specialized. The risk of serious injury is not theoretical. A single mistake can send the winding bar through the air with lethal force. This is the one repair on your house where the DIY savings are never worth the risk. Call someone trained, insured, and experienced. We answer the phone around the clock.
Cold metal contracts, and if your door is slightly out of balance, the contraction makes the binding worse. The banging you hear on cold Lewisville mornings is usually the door fighting against the tracks because the springs are no longer matched to the door’s weight. Run the balance test we described above. If the door doesn’t hold at half-height, the springs are the issue, not the temperature.
A full tune-up in Lewisville typically includes lubrication, hardware tightening, balance testing, safety reverse testing, and a visual spring and cable inspection. Prices vary by company, but at Otto’s Garage Door we quote the full price on the phone and hold it at the door. There’s no trip charge inside Denton County, and we offer $40 off any repair over $200. Call (945) 777-4998 for a free estimate.
The Bottom Line
Your garage door is the heaviest moving object in your home, and it works on springs that have a finite lifespan. The maintenance checklist that matters is not a generic list of “check this, lube that.” It’s a targeted pass through the parts that actually fail on Lewisville doors: coil gaps on torsion springs, cable fray at the bottom brackets, balance drift, dry rollers, loose hinges, and defeated safety sensors. Fifteen minutes twice a year catches most failures before they strand your car inside the garage at the worst possible moment. And when something’s beyond the checklist, ask anyone on your street – we’ve been in this county since 2004, and the name on the van is the name on the invoice and the name on the license. For all your Garage Door Repair in Lewisville needs, or if you’re ready for a Garage Door Installation in Lewisville, call (945) 777-4998 and we’ll give you a straight answer.
Written by Otto Reinhardt, Owner at Otto’s Garage Door, serving Lewisville since 2004. For more guides & resources, visit our blog.